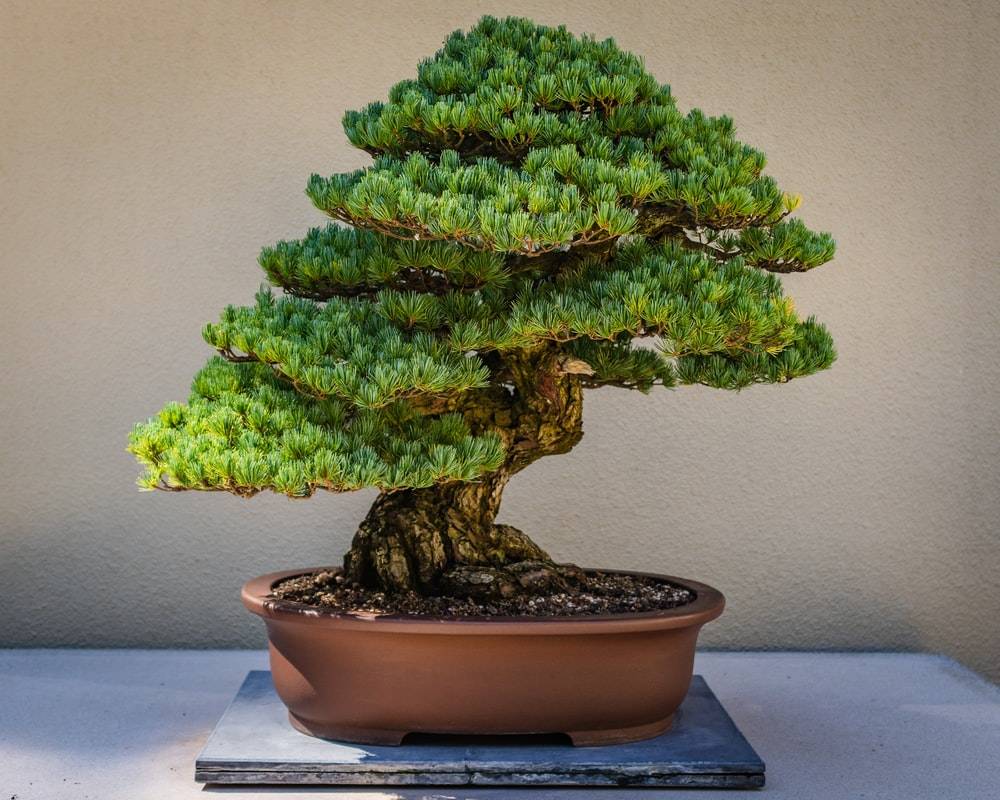
The art of bonsai has been practised for generations and is a very symbolic, religious activity, with its vital qualities of simplicity, harmony, and balance mirrored in many parts of Japanese culture and way of life. The art of bonsai has been cultivated for over 2000 years and was inspired by the Chinese art of Penjing, which was transferred to Japan from China, and was subsequently sculpted and influenced by the minimalist Buddhist culture.
So for any of you who would like to grow a bonsai tree at home listed below are steps for you to cultivate them:
Step 1
Choose a tree species that is appropriate for your climate. Not all Bonsai trees are the same. Many woody perennials and even tropical plants may be turned into Bonsai trees,
However, not all species will be suitable for your specific environment. It is critical to consider the climate in which the tree will be grown while choosing a species. Some trees, for example, perish in cold temperatures, whilst others require temperatures below freezing to enter a dormant condition and prepare for spring.
One such tree that you can start with if you are new to Bonsai tree cultivation. These hardy evergreens may be found all across the northern hemisphere and even in the more temperate sections of the southern hemisphere.
Furthermore, juniper trees are simple to grow; they react well to pruning and other "training" efforts and, as evergreens, never lose their leaves. They do, however, develop at a snail's pace.
Pines, spruces, and cedars of various types are also often cultivated as Bonsai trees. Another option is deciduous (leafy) trees.
Step 2
Decide whether you want to cultivate your bonsai inside or outside.
-
Indoor trees get less moisture and sunlight so choose only those that have fewer requirements for the same. Listed here are some of the trees that will fit right in if you want to cultivate a bonsai tree indoors, Hawaiian Umbrella, Serissa, Gardenia, Camellia, Kingsville Boxwood, Ficus.
-
Outdoor plants are those which might require a larger amount of moisture and sunlight. listed her are some of those species of plants, Juniper, Cypress, Cedar, Maple, Birch, Beech, Ginkgo, Larch, Elm.
Step 3
Select the size of your bonsai
Select a tree according to the size that you can handle, as bonsai trees come in a wide variety of sizes . Depending on the species, full-grown trees can range in height from 6 inches (15.2 cm) to 3 feet (0.9 m). If you choose to cultivate your Bonsai tree from a seedling or a cutting from another tree, it will be much smaller at first. Larger plants require more water, soil, and sunlight, so be sure you have all you need before you buy.
Step 4
Select the pot
Bonsai is not a species of trees. However, its main attraction is that the trees are grown in pots that restrict their growth. The most crucial consideration in determining which pot to use is that the container be large enough to enable adequate soil to cover the plant's roots.
When you water your tree, the liquid from the soil is absorbed by the roots. You don't want to put little dirt in the pot that the tree roots can't retain moisture. To avoid root rot, make sure your pot has one or more drainage holes on the bottom. You may also drill these yourself if you have a drill.
-
While your container must be large enough to sustain your tree, you'll also want to keep your bonsai tree looking nice and tidy. Excessively huge pots might dwarf the tree, creating an odd or mismatched look. Purchase a container large enough to accommodate the tree's roots, but not much larger - the goal is for the pot to compliment the tree aesthetically while being relatively unobtrusive visually.
-
Some people choose to start their Bonsai trees in basic, functional pots and then transfer them to fancier containers after they're fully developed. This is especially handy if your bonsai tree species is delicate, as it allows you to postpone the purchase of the "good" container until your tree is healthy and lovely.
Step 5
Prune your tree to the shape you desire to make sure it grows the way you want
Step 6
Learn about the trees, their lifecycles and the amount of moisture and sunlight they want
Step 7
Remove the trees and clean their roots
Brush away any dirt clumps that are blocking your view while you clean the roots. This method benefits from the use of root rakes, chopsticks, tweezers, and other similar equipment.
Step 8
Pot the tree
Place the tree in the proper orientation in your new pot. Finish filling the container with fine, well-draining soil or growth media, making sure to cover the tree's root system. You can add a final layer of moss or gravel if desired.


