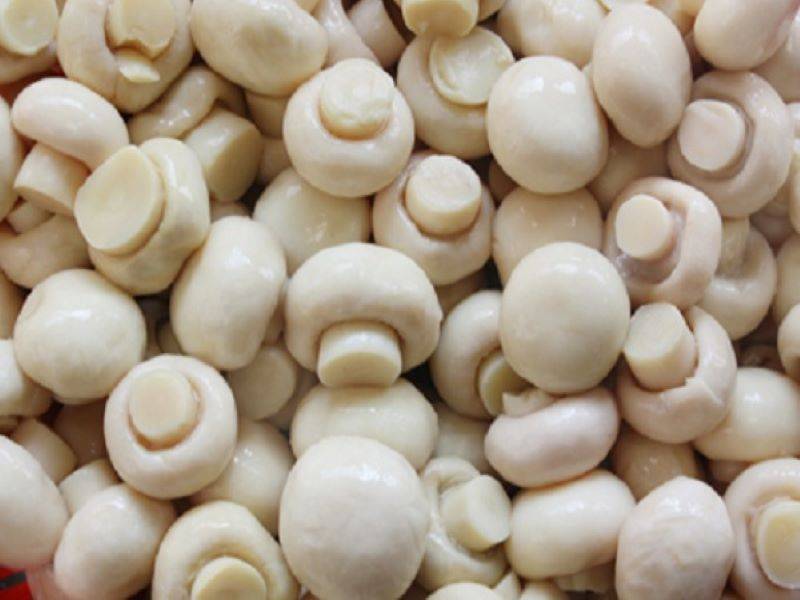
Mushroom farming comes under fungiculture. Farming of this cholesterol free vegetable containing vitamin B and amino acids has started around 4 decades ago in India in comparison to European countries (since 17th century). Earlier, it’s production was limited to winter season but now with technological developments, it can be grown year round. Mushroom farming can be profitable for the farmers if done correctly.
Besides button mushroom we have many other varieties of mushrooms like oyster, cremini, porchini etc.
Mostly Button mushrooms are grown in Indian farms. The vegetative part of this fungus is composed of many inter-woven filaments. Let’s understand the whole process of cultivation of Button mushroom.
Production of Button mushroom
Climatic requirements
Mushrooms are grown in environment controlled cropping houses. It requires 20-28-degree C for vegetative growth and 12-18-degree C for reproductive growth i.e., for formation of fruit body. Relative humidity of 80-90% and ventilation during cropping is also needed.
Cultivation process-
It can be divided in following steps-
-
Mushroom spawn production
-
Preparation of compost
-
Spawning
-
Casing soil
-
Cropping and Harvesting
Let’s understand this process step by step-
1. Mushroom spawn production
In the spawn production, mycelium from mushroom breed is placed onto steam-sterilized grain and in the time mycelium completely grows through the grain. This mixture (grain-mycelium) is called spawn and this spawn is then sent for further process of composting. Spawn can be produced in the labs or can be purchased from other sources.
2. Preparation of compost
Compost is an artificially prepared means for the growth of spawn. It is the mixture made by adding plant wastes, salts, other supplements and water.
-
Short method
Compost prepared by this method is convenient for high yielding mushroom production and require more resources and capital and gives high quality mushroom with less chances of infection. In First phase of composting i.e., Outdoor composting, Wheat straw or paddy straw is mixed with chicken manure and then water is mixed. Start first turning on day 4 and create a 5 feet high heap. Start second turning on day 7 and add wheat bran, urea and gypsum and mix properly and maintain compost inside mixture 70-75-degree C. Start third turning on day 8 and then on day 10, transfer compost into pasteurization tunnel and here we start our Second phase of composting, i.e., Indoor Composting, the compost prepared needs to be pasteurised to kill undesirable microbes and to convert ammonia into microbial protein. The process is carried out in a steaming tunnel where the temperature of air is maintained at 60-degree C for 4 hours. And finally, the compost obtained must have 7.5 pH granular structure with 70% moisture content and free from insects. After the completion of process, compost is cooled down to 25-degree C.

-
Long method
This method of composting is used where steam pasteurization facility is not available. In this, first turning is given on day 6 and second turning is given on day 10 and third turning on day 13 and gypsum is also added. Fourth, fifth and sixth turnings are given on day 16, 19 and 22 and seventh turning on day 25 along with addition of 10% BHC (125 g) and then final turning on day 28 and compost is smoked to check the smell of ammonia, if the smell is present, then leave for 3 days and flip and check again, and when the smell of ammonia is not present, compost is ready for spawning.
3. Spawning
In this, Spawn is evenly mixed with the compost and this can be done in three ways, Spot spawning, in which lumps of compost are formed and spawn is mixed. Surface spawning, in which spawn is spread over the compost and then spread compost on upper surface up to 3-5 cm. Layer spawning, 3-4 layers of spawn and compost are prepared and final upper layer of compost.
4. Casing soil
The importance of casing soil is to maintain the moisture content inside the compost for proper growth of mycelium and exchange of pollutants. Garden loam soil and sand in the ratio of 4:1 can be used for casing soil. The casing material should have high porosity, water holding capacity and pH of 7-7.5. Casing soil is treated with 4% formalin solution (at least 15 days before casing) and stacked on the ground and pasteurization of casing soil is done for better results. Casing soil is spread thickly (4-5 cm) on the compost.
5. Cropping and Harvesting
Mushroom starts to grow after 10-12 days and mushroom crop can be harvested in 50-60 days. Mushrooms should be harvested by light twisting without distressing the casing soil and fill the gap on soil bed by fresh casing material and spray water.
Post- harvest management
Post- harvest management should also be done properly. After washing with KMS solution, Pack mushrooms in polythene bags as per depending upon the market.
This is the whole process of cultivation of mushrooms. Nutritional values of mushroom will be discussed soon in upcoming article. To know more about farming and cultivation of other crops, stay connected to Krishi Jagran...!! Keep visiting…!!


